Let's Build Together
I never imagined that during the last two years I’d have as much free time on my hands as I have. Pandemic life, am I right?
One of the things that’s kept me sane is pouring my excess energy into building things. I was struggling to find a keyboard that had everything I was looking for in it. That’s when a friend of mine suggested building and wallet hasn’t been the same since. There’s nothing more relaxing than just following a build guide and turning my brain off.
Here’s a few things I look for when thinking about building.
The PCB
The printed circuit board (PCB) serves two purposes in the build process. The first is that if you buy a board where soldering is required, it’s a point to affix your components too. The second function it serves is to create a path between the components and the electricity connections.
When picking a PCB the main determination is the level of effort you want to spend on the build process, primarily between the firmware and physically building. PCBs come in two main offerings, hotswap and soldering. A hotswap PCB tends to come pre-soldered allowing you to simply plug the switches into the PCB, saving you quite a bit of time and effort. A PCB that requires soldering might feel a bit more permanent to some folks. It requires a soldering iron and affixing the components that aren’t attached to the PCB.
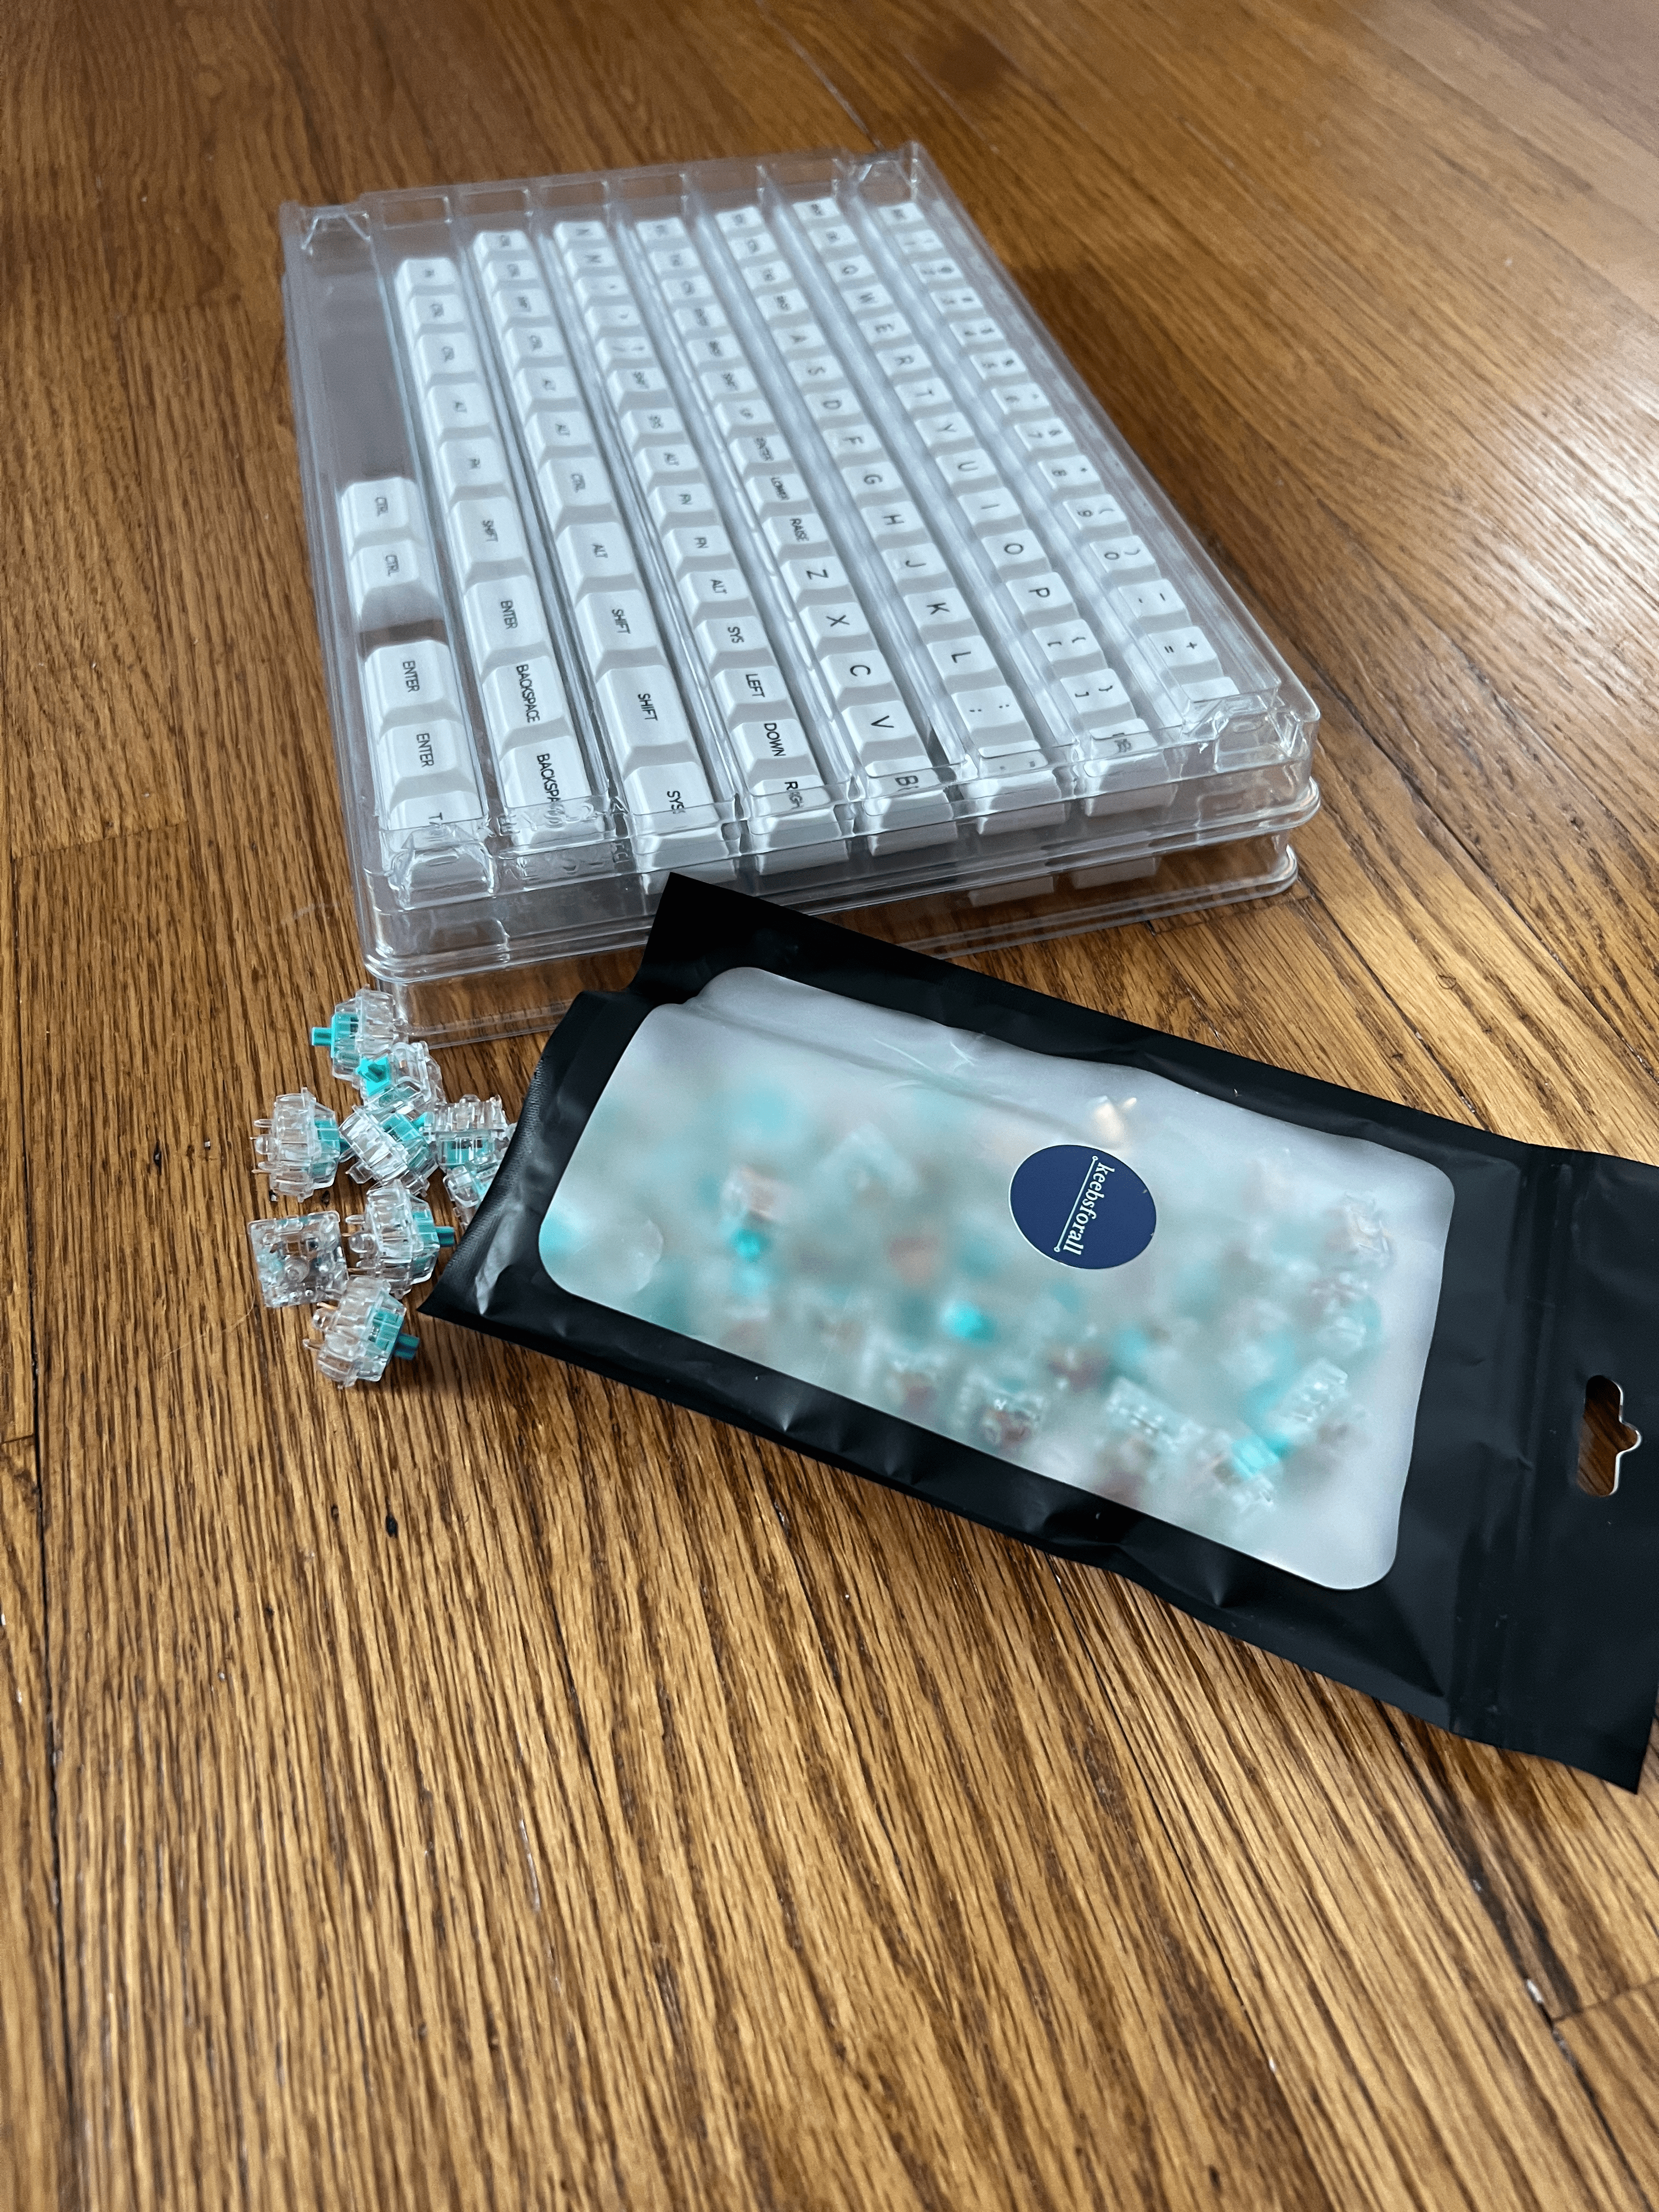
The Switches
There are so many types of switches it wouldn’t be worth attempting to list them all. Instead let’s review the three most common types of switches you’ll likely see when shopping around, linear, tactile, and clicky. Some other features to look for in your switches are longevity, actuation, spring force, and travel distance.
Linear
If you prefer quiet and smooth switches, then linears are probably for you. One thing to note if you have never used linear switches before the typing experience might take a little getting used to. The main reason being that these switches don’t have to be pressed all the way down to register a key press. If you’re not used to this you’ll end up pressing the switch all the down; “bottoming out” the switch which may result in some discomfort over time.
Gamers and experienced keyboards users will likely really enjoy typing on these.
Tactile
I often refer to tactile switches as “clacky but not clickly”. They provide a very noticeable “bump” when typing that makes it very clear when a key press is registered.
These are great for someone who’s building their first keyboard, a typist, or someone who needs feedback from their keys as they type.
Clicky
These switches are loud and very tactile with each keystroke. They offer feedback so it’s clear that a key is being registered.
One thing to keep in mind about these is that if you are in a co-working space or on calls often these could be very distracting.
The Keycaps
Keycaps come in four different profiles which refers to the shape of the whole keyset. Those are SA, OEM, Cherry, DSA, ranging from tallest to shortest.
Keycap choice is driven by the typing experience you are looking for married with overall look you want for your keyboard. There are many guides that exist comparing the different types of keycaps so I feel like it’d be waste for my to do it again. Instead I highly recommend reading this Switch & Click guide. It’s one that I refer to regularly when determining what keycaps I want to purchase and if they’ll have the right feel for me.
The Case (optional)
I won’t go too deep on the case other than it’s totally optional on if you want one for your build. It does add a certain level of completeness to the build, but it is also cool to have the “guts” of the keyboard exposed. This is definitely a personal preference, but in some cases depending on the keyboard might make more sense than others to have one.
The Build Process
One thing I highly recommend before purchasing any parts is looking at the build guide for the keyboard first. Most build guides are a great resource to tell you what comes with the kit, what else you still need to buy, and suggestions on additional tools to have. Think of it more like a “measure twice cut once situation”.
In addition to understanding the build, I also suggest looking up content on the process of flashing the firmware/keymap to the PCB. This can be a real hang up if not done correctly and also damage your PCB. Not all PCBs flash the same nor use the same firmware.
Flashing
Flashing the PCB is what loads the firmware on with whatever instructions you have provide in the build process. By far the most popular and supported firmware at the time of writing is QMK. QMK firmware provides a “default” way to tell the keyboard how to act in addition to the keymap which tells keys what to do when they are pressed.
Every keyboard has a different way of being flashed which should be outlined in the build guide for each PCB. If you are using QMK firmware then there is a default set of instructions that be found here.
If you are running into issues flashing your keyboard my first suggestion is to reach out to the discord server (most builders have one) for support.
The Keymap
The best thing about building your own keyboard is the limits to what it can do are based on your ability to program it. From programming a key to serve multiple functions to having multiple layers set up for the keyboard, creating the keymap has to be the most exciting part of the build process. Build to what makes sense for you and your workflow keeping in mind that your keymap may change depending on your usage.
Final Thoughts
So you made it this far and still would like to build a keyboard? Well first thing to do is to figure out what you want and how long you are willing to wait for it. At the time of writing this post any ordered that has to travel through customs to the US is going to be at least a month with the longest wait I’ve had going up to three months. I’ve found with most US based shops one to two day handling time and normal three to five day shipping. KBD News is a great resource to find out where a shop is located so you can set the right expectations for ship times. A few favorite shops of mine are:
Thank you for making it this far and if you have any thoughts feel free to drop them in the comments below.
Check out my keyboard builds on YouTube