Reducing the Overhead: Streamlining Your zsh Terminal on macOS
Intoduction
If you’re a macOS user who spends a lot of time in the terminal, you know that managing your shell configuration can sometimes become a tangled mess. In this post, we’ll explore how to reduce the overhead of managing your zsh environment by leveraging oh-my-zsh, organizing your configuration into modular files, and backing up your settings to GitHub for safety and portability.
Why Simplify Your zsh Configuration?
Over time, your ~/.zshrc file might accumulate a vast array of aliases, functions, and customizations. This not only makes it difficult to navigate and maintain but can also slow down your shell’s startup time. By modularizing your configuration:
- Maintainability: Separate files make it easier to find and update specific settings.
- Reusability: Easily share or reuse parts of your configuration across different machines.
- Portability: Version control via GitHub ensures that your custom setup is always backed up and can be deployed anywhere.
Step 1: Installing oh-my-zsh
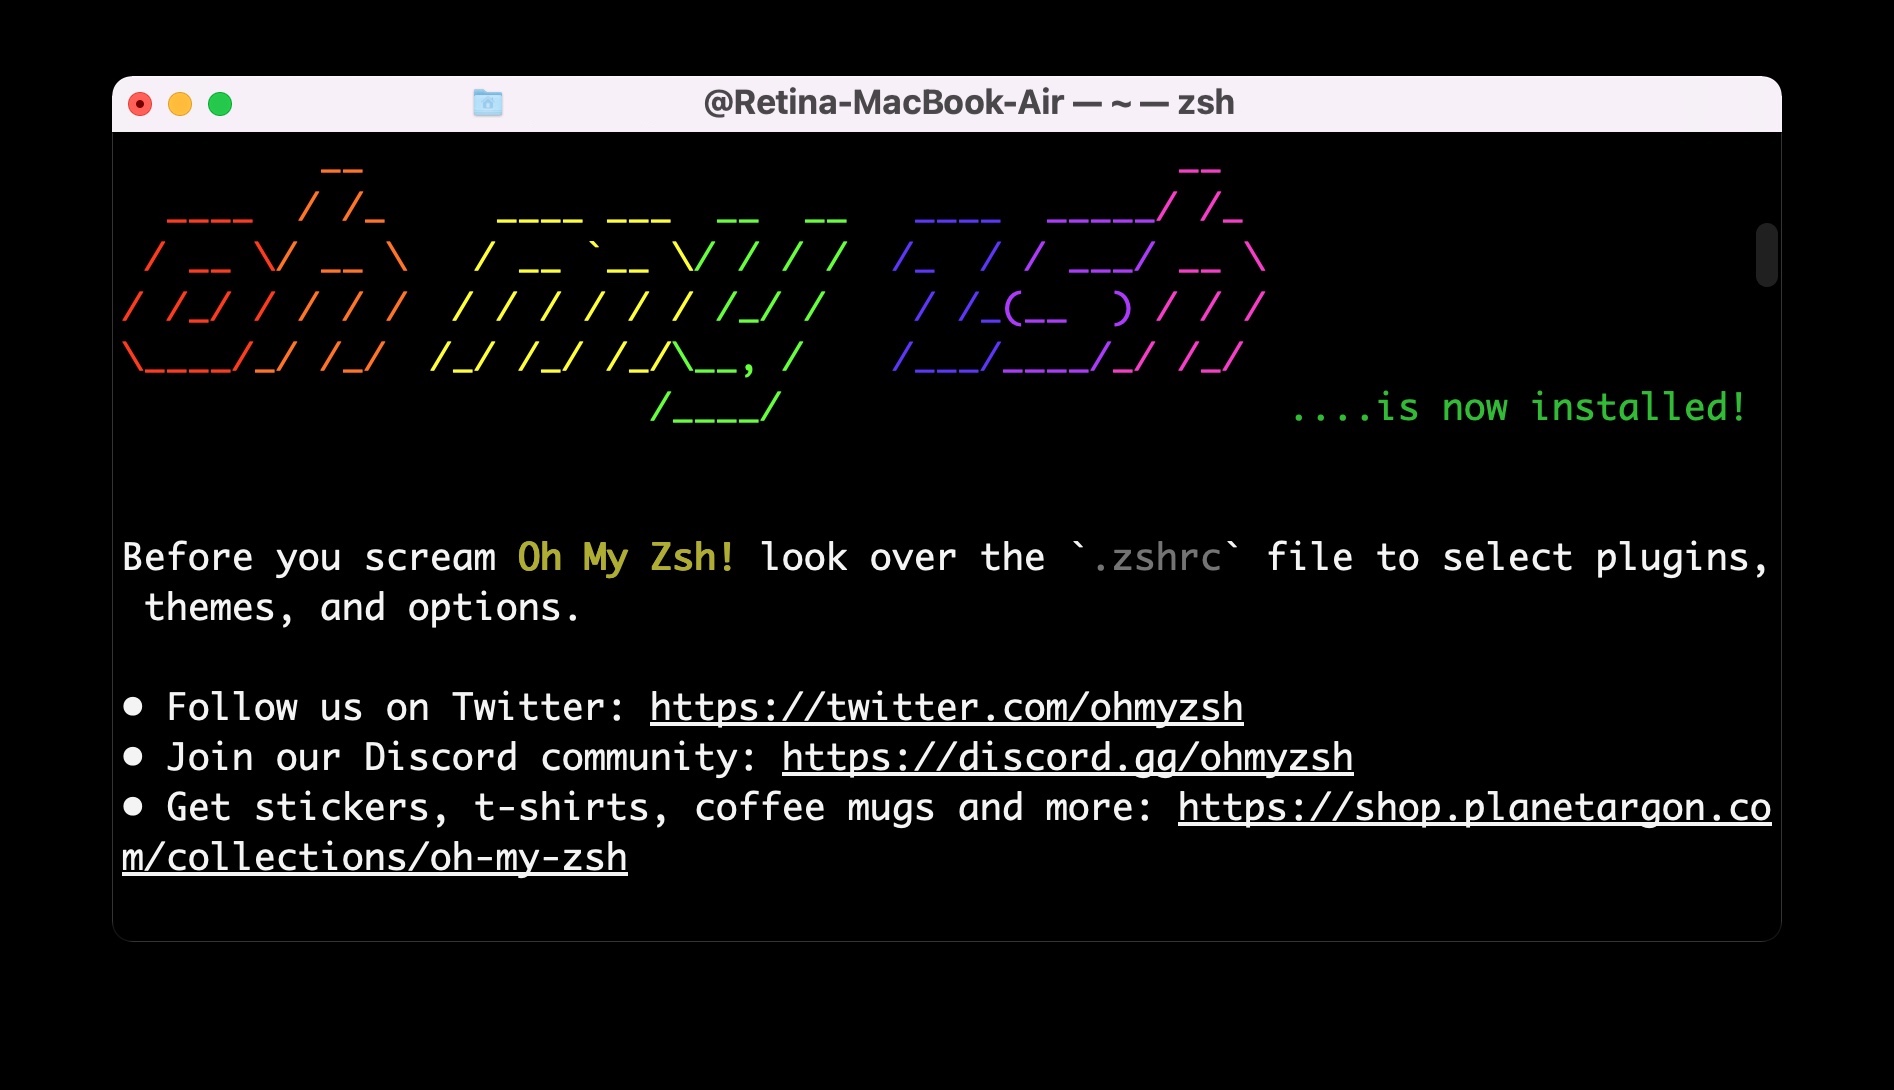
oh-my-zsh is a popular, community-driven framework that helps you manage your zsh configuration with ease. It comes with a host of themes, plugins, and helpful defaults that can dramatically improve your terminal experience.
Installation Instructions
Open your terminal and run the following command:
sh -c "$(curl -fsSL https://raw.githubusercontent.com/ohmyzsh/ohmyzsh/master/tools/install.sh)"This script will:
- Back up your existing
.zshrc(if present) - Clone the oh-my-zsh repository into
~/.oh-my-zsh - Set up a new
.zshrcthat loads oh-my-zsh
Once the installation is complete, restart your terminal to start using oh-my-zsh.
Step 2: Modularizing Your zsh Configuration
Keeping all your configuration in a single ~/.zshrc file can lead to clutter and difficulty in maintenance. A cleaner approach is to organize your configurations into separate files stored in a dedicated directory (e.g., ~/.zsh).
Setting Up Your Modular Config Directory
-
Create the Directory
Open your terminal and create a directory for your zsh configurations:
mkdir -p ~/.zsh -
Split Your Configurations
Move sections of your
.zshrcinto individual files inside~/.zsh. For example:aliases.zsh– store your alias definitions.env.zsh– store your environment variable settings.functions.zsh– store any custom functions.
-
Update Your .zshrc to Load These Files
Open your
~/.zshrcand add the following snippet to automatically load all.zshfiles in your~/.zshdirectory:# Load all additional configuration files from ~/.zsh for config_file in $HOME/.zsh/*.zsh; do [ -r "$config_file" ] && source "$config_file" doneThis loop will iterate through each file in
~/.zshand source it, ensuring that your modular configurations are applied every time you start a new shell session.
Step 3: Test and Optimize
Once you’ve organized your configurations:
Reload your shell to apply changes:
source ~/.zshrcDebug and ensure everything works as intended.
If you encounter issues, comment out or isolate problematic lines in individual config files, making troubleshooting straightforward.
Add or modify configurations as your workflow evolves, and remember to keep them modular.
Step 4: Backing Up Your Configuration to GitHub
Backing up your dotfiles (including your zsh configuration) to GitHub is an excellent way to version control your changes and keep your settings synchronized across multiple machines.
Creating a GitHub Repository
-
Create a New Repository on GitHub
- Log into your GitHub account.
- Click on the New button to create a new repository.
- Name your repository (e.g.,
dotfiles), and decide whether it should be public or private. - Do not initialize the repository with a README, as you’ll be pushing your local files.
Versioning Your Configurations Locally
-
Initialize a Git Repository
Open your terminal and navigate to your home directory (or a dedicated
dotfilesfolder if you prefer):cd ~ mkdir dotfiles && cd dotfiles git init -
Copy Your Configuration Files
Copy your
.zshrcand the entire~/.zshdirectory into this folder:cp ~/.zshrc . cp -r ~/.zsh . -
Commit and Push to GitHub
Add, commit, and push your changes to GitHub:
git add .
git commit -m "Initial commit of zsh configuration"
git branch -M main
git remote add origin git@github.com:YOUR_USERNAME/dotfiles.git
git push -u origin main
Replace
YOUR_USERNAMEwith your actual GitHub username.
Keeping Your Dotfiles Synced
Whenever you make changes to your zsh configuration, simply commit the updates and push them to GitHub:
git add .
git commit -m "Update zsh configuration: added new aliases"
git push
This practice not only backs up your settings but also serves as a change log for your configuration improvements.
Bonus: Enhance with Themes and Plugins
Oh My Zsh comes with built-in themes and plugins to elevate your Zsh experience. My favorite theme is arrow personally for my terminal windows.
Changing Themes: Edit the ZSH_THEME variable in .zshrc:
ZSH_THEME="arrow"Restart the terminal to apply.
Enabling Plugins: Add desired plugins to the plugins array in your plugins.zsh file (or directly in .zshrc):
plugins=(git z autojump)Final Thoughts
By installing oh-my-zsh, modularizing your configuration, and backing up your files to GitHub, you’re well on your way to a cleaner, more maintainable terminal environment on macOS. This approach reduces the overhead of managing your shell settings, makes updates more straightforward, and ensures that your hard-earned customizations are always safe.
Happy zsh-ing, and may your terminal be ever efficient!